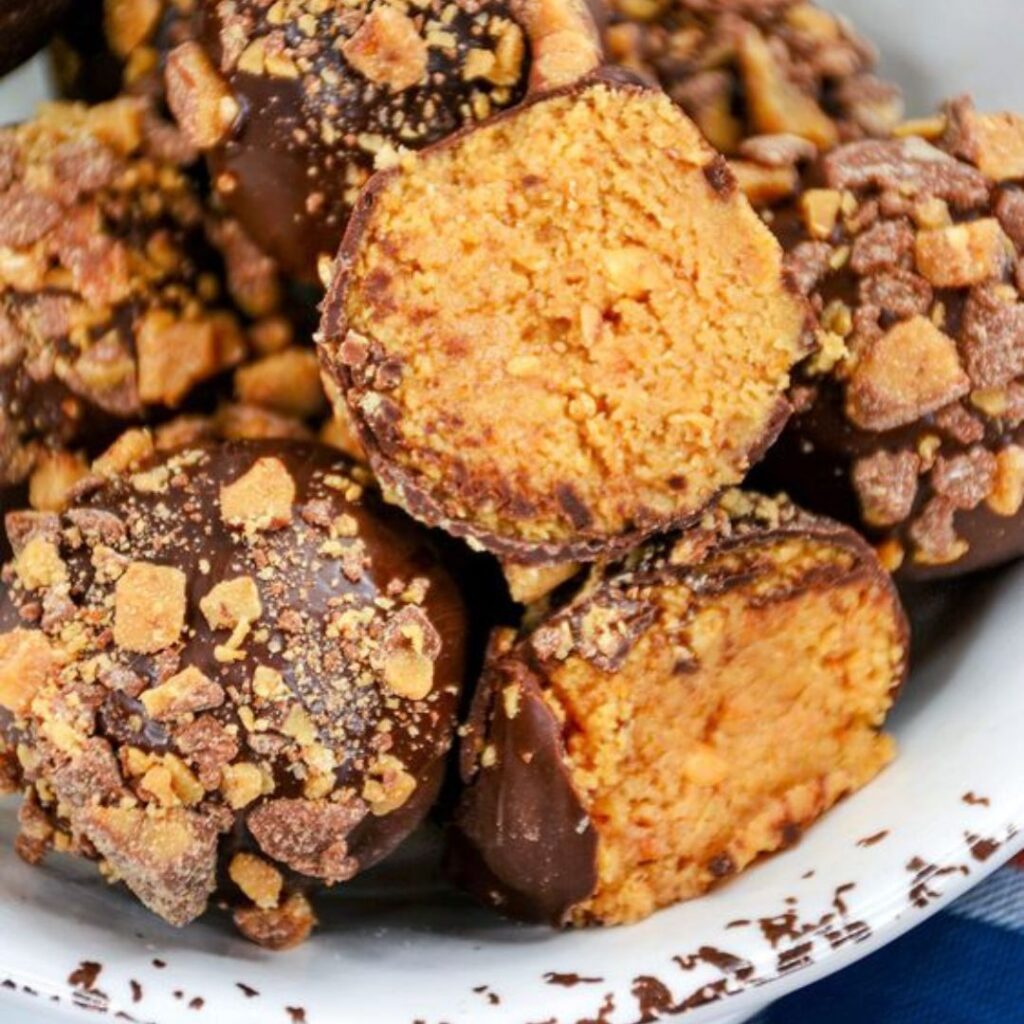
If you’re a fan of the irresistible combination of chocolate and peanut butter, you’ll love these homemade Butterfinger Balls. These bite-sized delights are packed with the crunchy goodness of Butterfinger candy bars and the creamy richness of peanut butter. They make for a sweet treat that’s perfect for parties, gatherings, or simply indulging your sweet tooth.
Ingredients:
- 2 cups crushed Butterfinger candy bars (about 10 full-sized bars)
- 1 cup creamy peanut butter
- 1/2 cup powdered sugar
- 1/4 cup unsalted butter, softened
- 12 ounces semi-sweet chocolate chips
- 1 tablespoon vegetable oil
Instructions:
1. Prepare the Butterfinger Mixture:
- In a large mixing bowl, combine the crushed Butterfinger candy bars, creamy peanut butter, powdered sugar, and softened unsalted butter.
- Mix these ingredients until they form a dough-like consistency. You may need to use your hands to fully incorporate the ingredients.
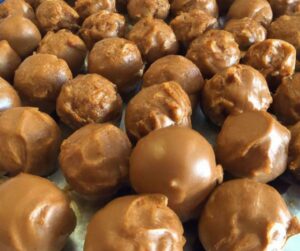
2. Shape the Balls:
- Scoop out portions of the Butterfinger mixture and roll them into bite-sized balls, about 1 inch in diameter.
- Place the balls on a parchment paper-lined baking sheet.
3. Chill the Balls:
- Place the baking sheet in the refrigerator and let the Butterfinger balls chill for at least 30 minutes. This will help them firm up.
4. Melt the Chocolate:
- In a microwave-safe bowl, combine the semi-sweet chocolate chips and vegetable oil.
- Heat the mixture in the microwave in 20-30 second intervals, stirring after each interval, until the chocolate is fully melted and smooth.
5. Dip the Balls:
- Using a fork or a toothpick, dip each chilled Butterfinger ball into the melted chocolate, ensuring it’s fully coated.
- Allow any excess chocolate to drip back into the bowl.
6. Set and Cool:
- Place the chocolate-covered Butterfinger balls back on the parchment paper-lined baking sheet.
7. Harden and Set:
- Let the chocolate-covered balls sit at room temperature until the chocolate hardens. You can also speed up this process by placing them in the refrigerator for about 15-20 minutes.
8. Serve and Enjoy:
- Once the chocolate has set, your homemade Butterfinger Balls are ready to enjoy.
- Store any leftovers in an airtight container at room temperature or in the refrigerator.
The classic flavors of Butterfinger candy bars and creamy peanut butter are combined in these Butterfinger Balls, which are wrapped in a layer of rich chocolate. Whether you make them for a special occasion or simply to satisfy your sweet tooth, these bite-sized treats are sure to please everyone who tries them.
I need to make them