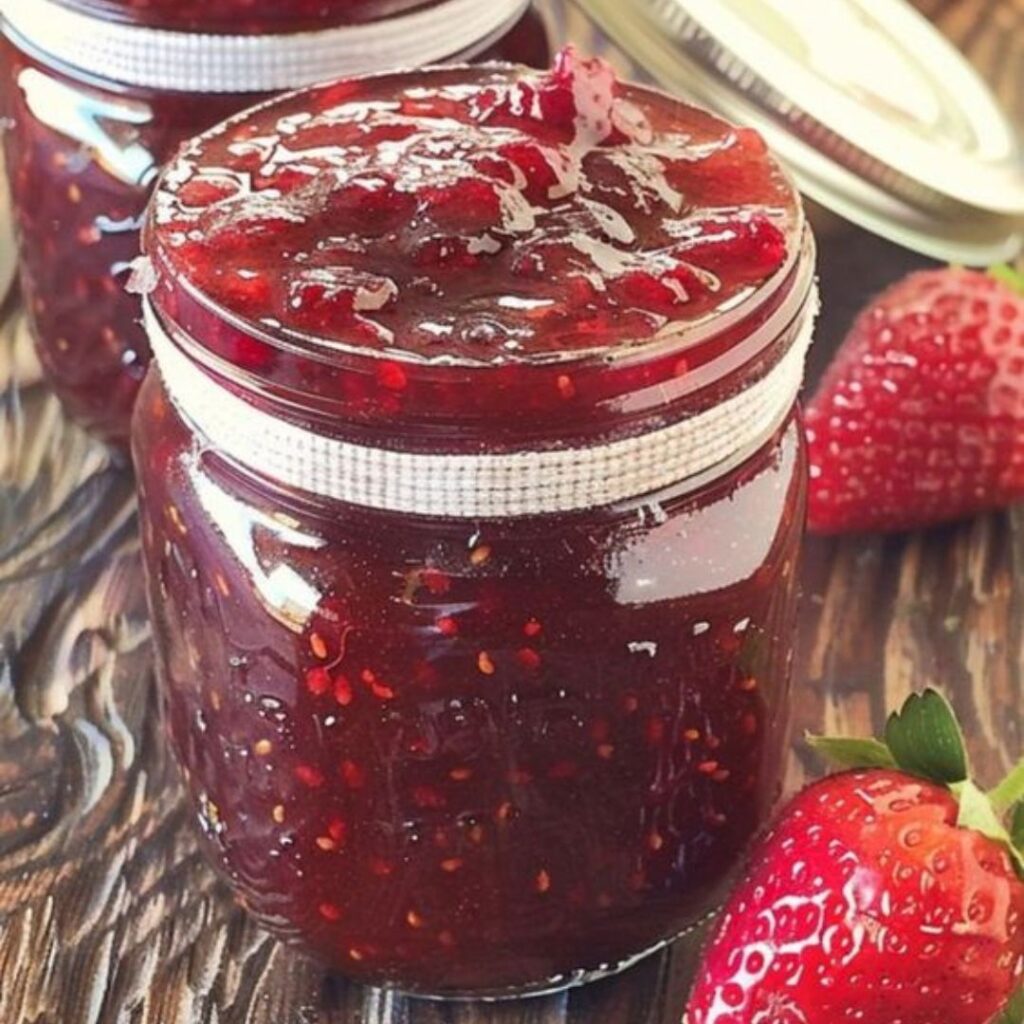
Homemade strawberry jam is a delicious and easy way to preserve the sweet, juicy flavor of fresh strawberries. With just a few simple ingredients, you can make a batch of jam that is perfect for spreading on toast, adding to desserts, or giving as a thoughtful gift. 🍓
Ingredients
- 2 pounds fresh strawberries, hulled and chopped
- 4 cups granulated sugar
- 1/4 cup fresh lemon juice
- 1 teaspoon lemon zest (optional)
- 1 packet (1.75 ounces) fruit pectin (optional, if you prefer a thicker jam)
Instructions
- Prepare the Strawberries:
- Wash, hull, and chop the strawberries. Place them in a large bowl and lightly mash them with a potato masher to release some of the juices. You can leave some chunks if you prefer a chunkier jam.
- Combine Ingredients:
- In a large, heavy-bottomed pot, combine the mashed strawberries, sugar, lemon juice, and lemon zest (if using). If you are using fruit pectin, follow the instructions on the packet for mixing it with the fruit and sugar.
- Cook the Jam:
- Place the pot over medium-high heat and bring the mixture to a boil, stirring frequently. Once boiling, reduce the heat to medium and continue to cook, stirring occasionally, until the mixture thickens. This should take about 20-30 minutes. If using a candy thermometer, the jam should reach a temperature of 220°F (105°C) to set properly.
- Test the Jam:
- To check if the jam is ready, place a small plate in the freezer for a few minutes. Drop a small amount of the hot jam onto the cold plate and let it sit for a minute. Push the edge of the jam with your finger; if it wrinkles and holds its shape, it’s ready. If not, continue to cook for a few more minutes and test again.
- Prepare the Jars:
- While the jam is cooking, sterilize your canning jars and lids by boiling them in water for at least 10 minutes. Keep them warm until ready to use.
- Fill the Jars:
- Once the jam is ready, carefully ladle the hot jam into the sterilized jars, leaving about 1/4 inch of headspace at the top. Wipe the rims of the jars clean and place the lids on top. Screw on the bands until fingertip tight.
- Process the Jars:
- Process the filled jars in a boiling water bath for 10 minutes (adjusting for altitude if necessary). Ensure the jars are fully submerged and covered by at least 1 inch of water. Start timing when the water reaches a full boil.
- Remove the jars from the water bath and let them cool completely on a towel or rack. You should hear the lids pop as they seal.
- Store and Enjoy:
- Once the jars are cool, check the seals by pressing the center of each lid. If the lid does not flex up and down, it is sealed properly. Store the sealed jars in a cool, dark place. Unsealed jars should be refrigerated and used within a few weeks.
- Enjoy your homemade strawberry jam on toast, biscuits, or as a delightful addition to your favorite desserts!
Homemade strawberry jam is a delicious way to capture the essence of fresh strawberries and enjoy their sweet flavor year-round. This simple recipe yields a flavorful jam that’s perfect for spreading, baking, or gifting. Enjoy the satisfaction of making your own jam and savor every bite of this delightful treat! 🍓