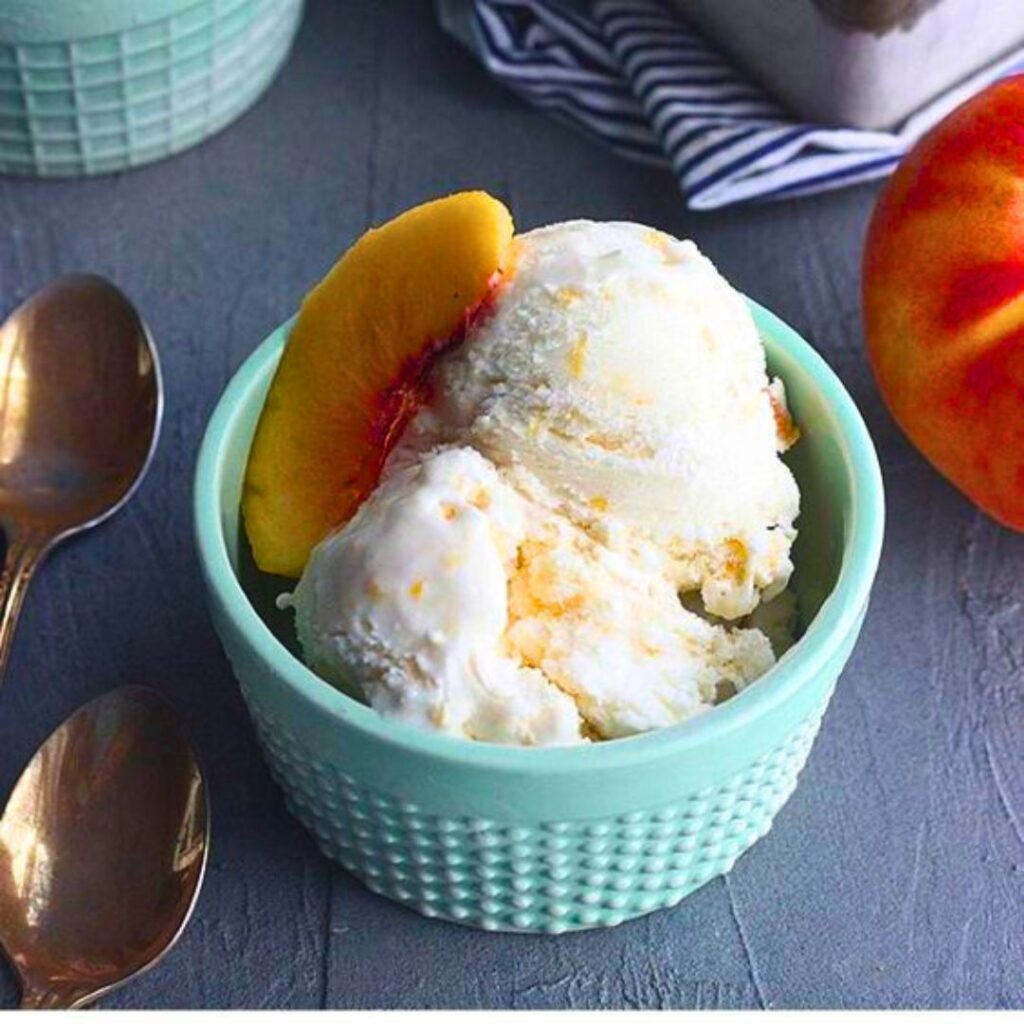
Enjoy the sweet and juicy flavors of summer with this Homemade Peach Ice Cream! Perfectly creamy and loaded with fresh peaches, this ice cream is a delightful treat for any occasion.
📋 Ingredients:
- 🍑 2 cups fresh peaches, peeled and chopped (about 4-5 peaches)
- 🍬 3/4 cup granulated sugar (divided)
- 🥛 2 cups heavy cream
- 🥛 1 cup whole milk
- 🥚 4 large egg yolks
- 🌿 1 teaspoon vanilla extract
- 🍋 1 tablespoon lemon juice
📝 Directions:
1️⃣ Prepare the Peaches:
- In a medium bowl, combine the chopped peaches with 1/4 cup of granulated sugar and the lemon juice. Stir to combine and let sit for 30 minutes to macerate. After 30 minutes, mash the peaches slightly with a fork or potato masher to release more juices.
2️⃣ Make the Ice Cream Base:
- In a medium saucepan, heat the heavy cream and whole milk over medium heat until just about to simmer (do not let it boil).
- In a separate bowl, whisk together the egg yolks and the remaining 1/2 cup of granulated sugar until the mixture is pale and thick.
- Slowly pour the hot cream mixture into the egg yolk mixture, whisking constantly to temper the eggs.
- Pour the mixture back into the saucepan and cook over low heat, stirring constantly, until it thickens and coats the back of a spoon (about 170°F or 77°C). Do not let it boil.
- Remove from heat and stir in the vanilla extract.
3️⃣ Combine and Chill:
- Strain the custard mixture through a fine-mesh sieve into a large bowl to remove any cooked egg bits.
- Stir in the macerated peaches and their juices.
- Cover the mixture with plastic wrap, pressing it directly onto the surface of the custard to prevent a skin from forming. Refrigerate for at least 4 hours, or overnight, until completely chilled.
4️⃣ Churn the Ice Cream:
- Once the mixture is chilled, pour it into your ice cream maker and churn according to the manufacturer’s instructions.
5️⃣ Freeze:
- Transfer the churned ice cream to an airtight container and freeze for at least 2 hours, or until firm.
6️⃣ Serve:
- Scoop and enjoy your homemade peach ice cream in bowls or cones.
Preparation time: 30 minutes
Chilling Time: 4 hours
Churning Time: 25-30 minutes
Freezing Time: 2 hours
Total Time: 6 hours 55 minutes
Servings: 6-8 servings
Calories: 250 kcal per serving
💡 Notes:
- For an extra burst of flavor, you can add 1/4 teaspoon of almond extract to the ice cream base.
- If you don’t have an ice cream maker, you can pour the mixture into a shallow dish, freeze, and stir every 30 minutes until it reaches the desired consistency.
- You can also use frozen peaches if fresh ones are not available. Just make sure to thaw and drain them before using.