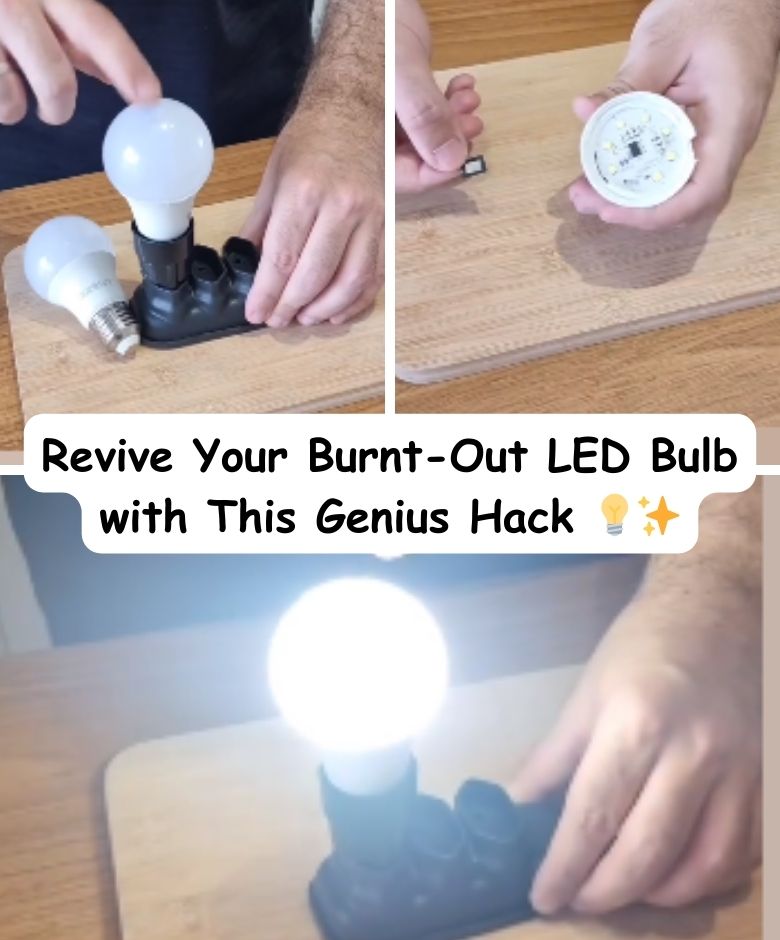
Stop throwing away burnt-out LED bulbs! With this simple trick, you can fix your light bulb in minutes using just a razor blade. Here’s how you can save money and bring your bulbs back to life. 🔧⚡
🛒 What You’ll Need:
- A burnt-out LED bulb 💡
- Tweezers 🔧
- Electrical tape 🏷️
- An old razor blade 🪒
- Pliers 🛠️
- A pointed object (like a small screwdriver) 🔩
🛠 Step-by-Step Guide to Fixing Your LED Bulb
1️⃣ Check If the Bulb Is Faulty:
- Plug the bulb into a working socket.
- If it doesn’t turn on, remove the acrylic cover carefully.
- Locate the LEDs on the circuit board – these LEDs work in series, meaning if one fails, the entire bulb stops working.
2️⃣ Identify the Burnt-Out LED:
- Use tweezers wrapped in electrical tape to touch both sides of each LED.
- If the bulb lights up briefly, you’ve found the defective LED.
- Mark this LED so you don’t lose track.
3️⃣ Remove the Burnt-Out LED:
- Unplug the bulb before proceeding for safety.
- Scrape off the faulty LED carefully, leaving only the metal contact underneath.
4️⃣ Use a Razor Blade to Bridge the Connection:
- Cut a small piece of razor blade with pliers.
- Stick it onto a piece of electrical tape slightly larger than the LED space.
- Position the razor piece over the removed LED’s contacts and press firmly.
5️⃣ Test & Reassemble the Bulb:
- Plug the bulb back into the socket.
- If it lights up, you’ve successfully fixed it! 🎉
- Reattach the acrylic cover and use the bulb like new.
🌟 Why You’ll Love This LED Bulb Fix
- Saves you money – No need to buy new bulbs! 💰
- Quick and easy – Fix bulbs in just a few minutes! ⏳
- Eco-friendly – Reduces waste and promotes recycling! 🌍
- No special tools needed – Just common household items! 🔧
Try this game-changing trick today and never throw away an LED bulb again! 💡✨