Yes, you read that right. All it takes is a piece of medicine packaging to repair your dead LED bulb at home – instantly and safely. No soldering, no special tools, and absolutely no spending. Here’s how to do it:
🧰 What You’ll Need:
- 1 burnt-out LED bulb
- Tweezers
- Electrical tape
- Blister pack from a pill (aluminum backing)
- Scissors
- Optional: Multitool to help remove LED
🔧 Step-by-Step Instructions:
1️⃣ Test the Bulb
Plug in the bulb to confirm it’s not lighting up.
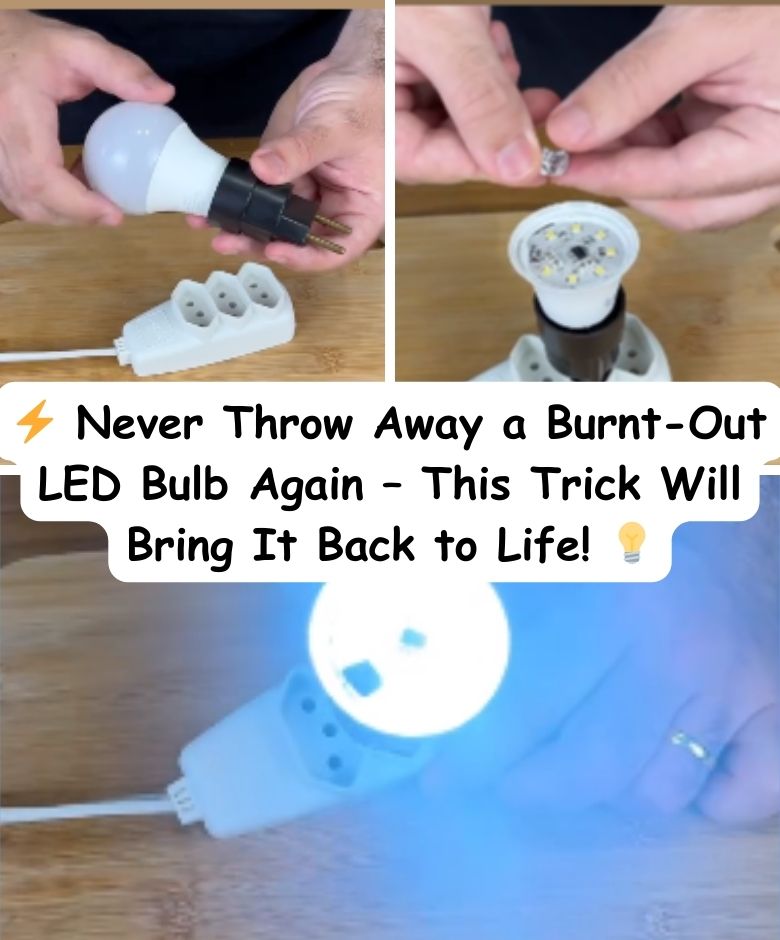
2️⃣ Open the Bulb
Carefully remove the acrylic diffuser (the white plastic dome on top). You’ll see a ring of yellow LED chips inside.
3️⃣ Identify the Faulty LED
- Plug in the bulb (carefully and safely).
- Touch each LED with tweezers insulated with electrical tape on the handles.
- When the rest of the bulb lights up, you’ve found the defective LED.
4️⃣ Remove the Defective LED
Use a sharp tool or tweezers to scrape off the faulty yellow chip completely until the copper contacts are visible underneath.
5️⃣ Create the DIY Fix
- Cut a small piece of aluminum foil from the back of a medicine blister pack.
- Stick it to a small piece of electrical tape.
- Trim to fit the LED area.
6️⃣ Apply the Patch
Place the aluminum-backed tape directly onto the contact area where the faulty LED was. Press firmly so it adheres properly.
7️⃣ Test It Again
Plug the bulb back in. Voila! The light comes back on, good as new.
⚠️ Why This Works:
- LEDs are in series – one goes out, they all go dark.
- Aluminum foil from the medicine pack acts as a bridge to bypass the faulty LED, allowing the current to flow again.
💡 Bonus Tip:
💰 This trick can save you hundreds over time, especially in homes or businesses with many LED bulbs. Keep a few pill pack foils handy and never buy replacement bulbs in a panic again.
Try it out and share with friends – especially those who throw away “broken” bulbs!
🧠 Let me know if you’d like a visual guide or printable version of this hack!