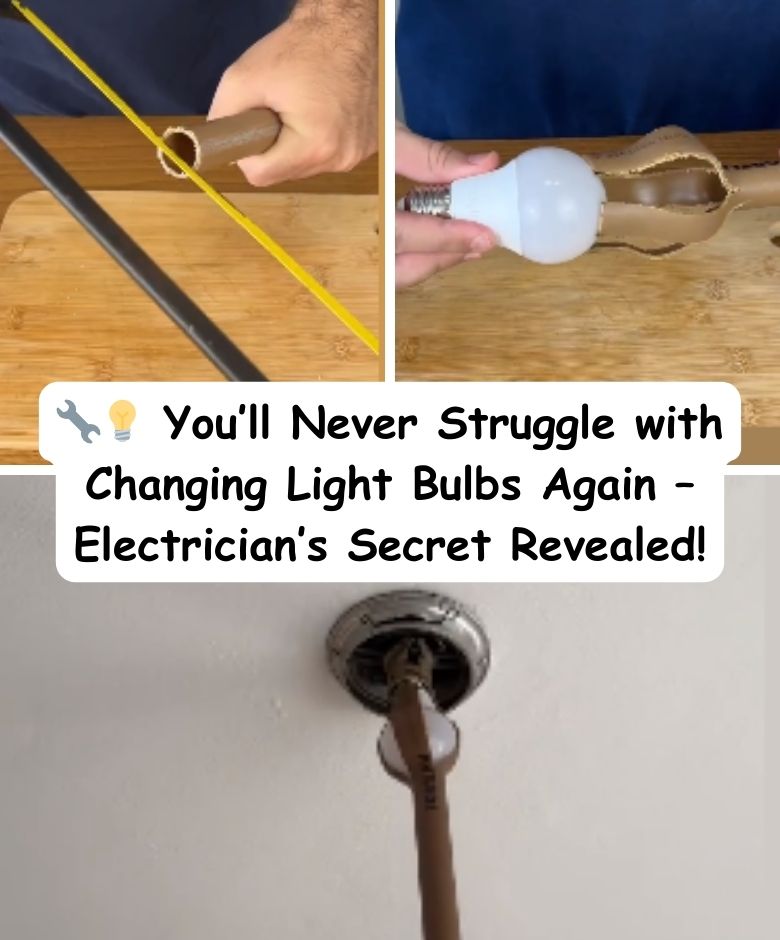
Changing a ceiling light bulb doesn’t have to mean wobbling on chairs or dragging out a ladder! With this DIY bulb changer tool, revealed by an experienced electrician, you can safely and easily change bulbs—even in hard-to-reach places—without spending a dime.
🧰 What You’ll Need:
- A piece of PVC pipe (25mm diameter recommended)
- A stove or heat source
- A glove (to protect your hands)
- An old broomstick or extendable pole
- Optional: a dab of hot glue
🔧 Step-by-Step Instructions:
1️⃣ Cut the Cross
Using a saw or utility knife:
- Make two perpendicular slits in one end of the pipe.
- The shape should resemble a cross ( + ), like a flexible claw.
2️⃣ Heat and Shape
- Turn on your stove to medium heat.
- Rotate the cut end of the pipe over the flame until it becomes soft and flexible.
- ⚠️ Wear gloves to protect your hands from burns.
3️⃣ Mold It
- Take a light bulb (or even an egg to test grip) and press it gently into the softened end.
- Hold firmly for a few seconds while the pipe cools and takes the bulb’s shape.
You now have a snug-fitting holder that won’t let the bulb slip!
4️⃣ Secure It
- Optionally, add a small bead of hot glue inside the “claws” for extra grip.
- Attach the opposite end of the pipe to a broomstick or extendable pole.
💡 How to Use:
- Gently insert the tool onto the light bulb.
- Twist to remove or install without needing to climb or stretch dangerously.
- Great for elderly individuals or anyone living solo!
✅ Why You’ll Love This:
- No ladder or chair needed
- Safe and secure grip
- Perfect for high ceilings
- Costs virtually nothing
- Can be made in 5 minutes
✨ Try this out and share it with your family—especially grandparents or anyone living alone. It might just save a trip to the ER.
Want a printable version or a short video tutorial of this hack? Just let me know!